JRebel with IBM Cloud
Pushing any JRebel remote server enabled application (containing rebel-remote.xml) to the IBM Cloud platform will automatically download the latest version of JRebel and set it up for use.
Follow the tutorial below to get started with JRebel and IBM Cloud.
JRebel for Cloud Tutorial
To get started, you must have an account with IBM Cloud. Go to IBM Cloud Trial to create a free trial account.
Download and install the Cloud Foundry (cf) command line interface.
Start up cf and set your API to work with IBM Cloud.
$ cf api https://api.ng.bluemix.net
Hint
Depending on your location, you might want to connect to the European region. To do this, connect to
https://api.eu-gb.bluemix.net.Login to IBM Cloud using the account you created earlier.
$ cf login
Install and configure JRebel on your local workstation.
4.1 Using Eclipse? Install JRebel for Eclipse and configure JRebel for Cloud in Eclipse.
4.2 Using IntelliJ IDEA? Install JRebel for IntelliJ IDEA and configure JRebel for Cloud in IntelliJ IDEA.
4.3 Using NetBeans? Install JRebel for NetBeans and configure JRebel for Cloud in NetBeans.
Create a new file titled
manifest.ymlwithin the root folder of your project with the following content (replacing{APP_NAME}and{webapp}with your own application title and WAR file name):applications: - disk_quota: 1024M host: {APP_NAME} name: {APP_NAME} path: target/{webapp}.war domain: ng.mybluemix.net instances: 1 memory: 768M
Hint
Depending on your location, you might want to change the domain to the European region. To do this, specify
domain: eu-gb.bluemix.net.Push your local application to IBM Cloud. Run the following command within your project root folder (the folder which contains
manifest.yml).$ cf push {APP_NAME}
Warning
Make sure that the
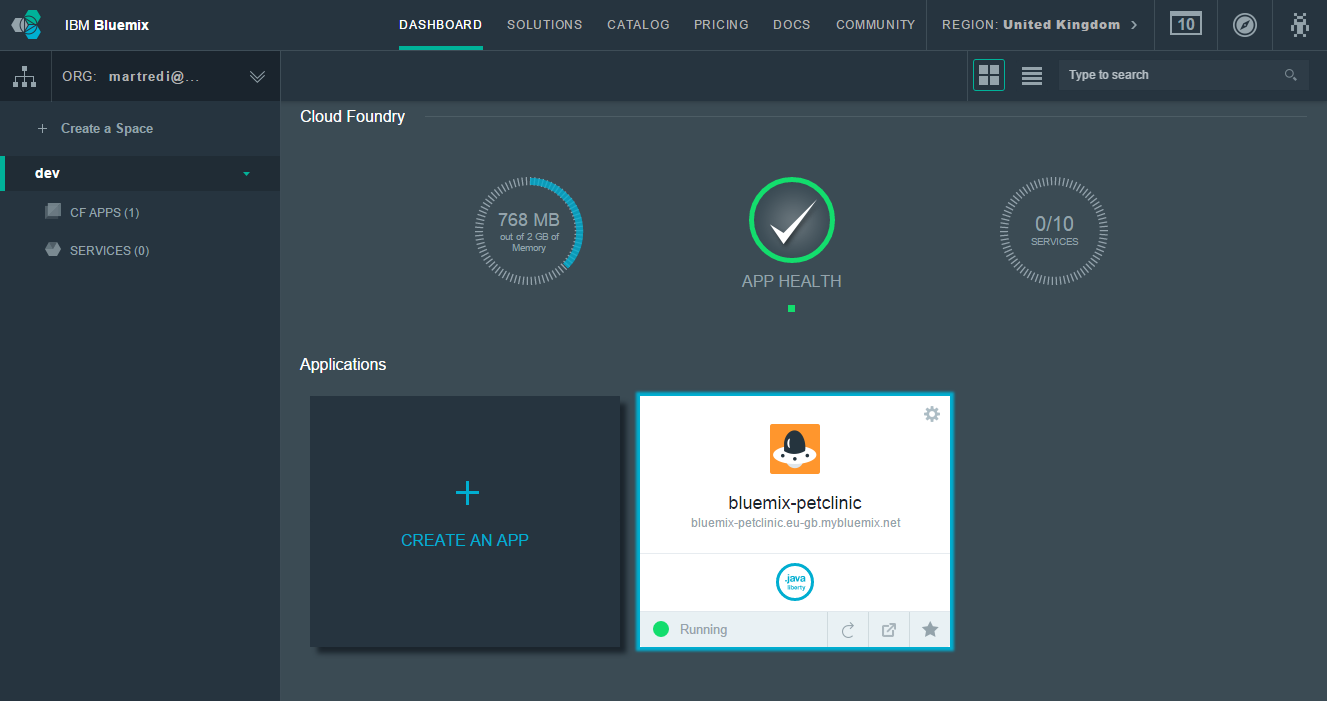
rebel-remote.xmlon your local workstation and on IBM Cloud are identical!Now your application should be set up and running in IBM Cloud. You can check its status via the IBM Cloud Dashboard.
Configure your project’s remote server application URL in the IDE to reflect the IBM Cloud application URL. This should be
http://{APP_NAME}.ng.mybluemix.net/.Press the Synchronize button in your IDE to upload any changes to IBM Cloud. Now refresh the application on the cloud platform for the changes to take effect.